

Tools and Supplies Needed:
- Protective eyewear or safety goggles
- Straightedge or Speed Square
- Pencil or other nonpermanent marker
- Latex primer such as Zinsser® or KILZ® (or similar products, if method 1 is used)
- Soft cloth
- Chalk line
- Level (2′ to 4′)
- Fine-grit sandpaper (400-600 grit)
- Caulk gun and caulk or Aspect trim (optional)
If cutting tiles, one of the following tools will be needed:
- Jig saw (recommended)
- Safety gloves
- Masking tape
- Miter box or chop saw (for straight cuts only)
- Hole saw or coping saw (for circular cuts or electrical outlet cutouts only)
Before You Begin
Installing Aspect peel & stick collage tiles is a simple, exciting project that adds instant style to your kitchen or bath. We have deliberately overexplained the tile installation. Have fun with this project. It’s going to be easy and look great!
The adhesive on the back side of the Aspect tiles is engineered to be both highly-aggressive and pressure-sensitive (Figure 1). Proper wall preparation is required. Aspect can be installed over most structurally sound substrates if they are clean, flat, smooth, dry, and free of dust, wax, soap scum and grease. Acceptable substrates are drywall, plaster or clean, smooth tile (glazed, porcelain-type tile; not porous or textured). Any damaged, loose or uneven areas must be repaired, patched, leveled and primed. Fill cracks and irregularities with wallboard compound or spackling, then sand smooth with fine-grit sandpaper.
Occasionally, even after properly preparing the substrate, the surface can still have bows, high spots, ridges, or uneven areas. Place a level against the wall. If there is a 1/8” gap or greater, use a filler such as spackling or drywall compound to fill in imperfections.
Allow the tiles and substrate to come to room temperature (65 to 100 degrees F.) before installation.
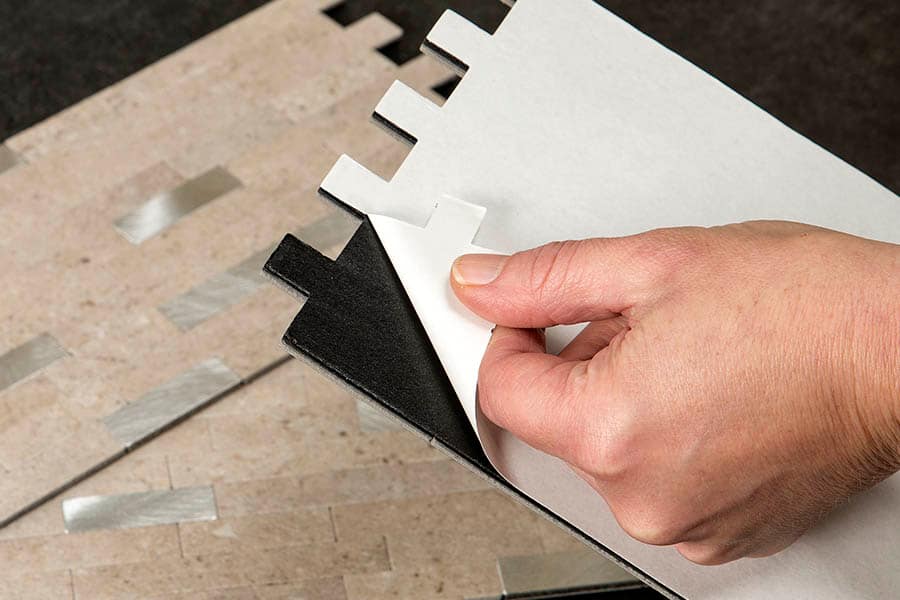
The adhesive on the back of the Aspect Collage tiles is extra sticky and pressure sensitive
Layout
Measure the first area to be covered by Aspect material. We recommend you lay out the entire project on a flat surface, like the counter top, a table or the floor, before adhering to the substrate, to be sure you have enough tiles and your design and layout is correct. This will also give you good reference as to how the tiles will look on your wall. As each project is different, be sure to plan for cutouts, corners or edge treatments before applying tiles.
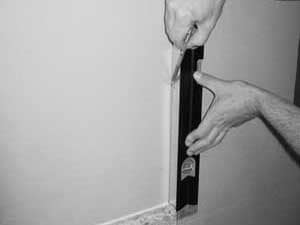
One popular layout method is to begin from the inside corner of your counter and work across left to right. This method allows you to use two points of reference, your vertical wall and horizontal counter top. Note — when using these two points of reference, be sure to check them for level on the horizontal plane and 90°on the vertical plane. This will prevent any problems as you build your backsplash. Lay a 4’ level on top of your counter top or backsplash return lip if you have one. If the counter is level, use it as your reference. If not, identify the high point(s) of the counter top. Draw a horizontal line using your level and snap a reference line to indicate the high point (Figure 2).
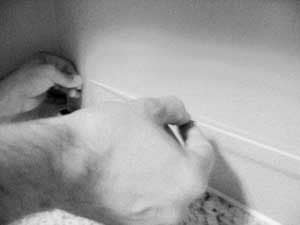
Snap a reference line to indicate the top of the first row of tiles. The top edge of the first row will be installed along this line. Use a level or measuring tape to mark the vertical termination point of your installation (Figure 3).
Mark horizontal reference points
Mark vertical reference points
Installing Your First Tile
Installation Methods
Method 1:
Proper wall preparation is required for this application. Aspect can be installed over most structurally sound substrates if they are clean, flat, smooth, dry, and free of dust, wax, soap scum and grease. Acceptable substrates are drywall, plaster or clean, smooth tile (glazed, porcelain type tile; not porous or textured). Any damaged, loose or uneven areas must be repaired, patched, leveled and primed.Fill cracks and irregularities with wallboard compound or spackling, then sand smooth with fine-grade sandpaper. Apply primer to assure good adhesion. Lightly sand any shiny surfaces.
The adhesive on the back side of the Aspect tiles is engineered to be aggressive and pressure-sensitive
Method 2:
If you do not intend to properly prepare the surface, an additional adhesive should be used. We recommend a high-quality polyurethane construction adhesive be applied to the back of each tile in these cases. Be sure to remove the release film on the back of each tile before applying additional adhesive. Apply pea-sized dots of adhesive to the back of a full tile (see right) Keep the adhesive a half-inch from the edges. Firmly press the tiles into place. If adhesive squeezes out around the tiles, be sure to wipe it off before it dries.
Here are the recommended adhesives:
- PLTM Premium
- PLTM Premium Advanced
- LaPageTM Premium (Canada)
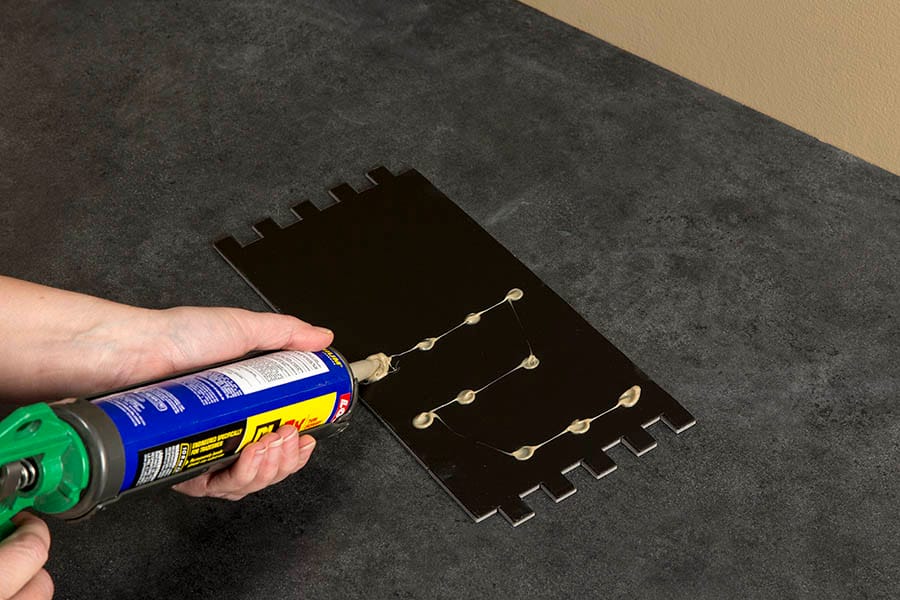
Using high-quality polyurethane construction adhesive
Be sure the substrate is clean and dry. Align the tile where you want it on the reference lines.
Do not bend the tile backwards against the matting as the tile could permanently stretch and become unusable.
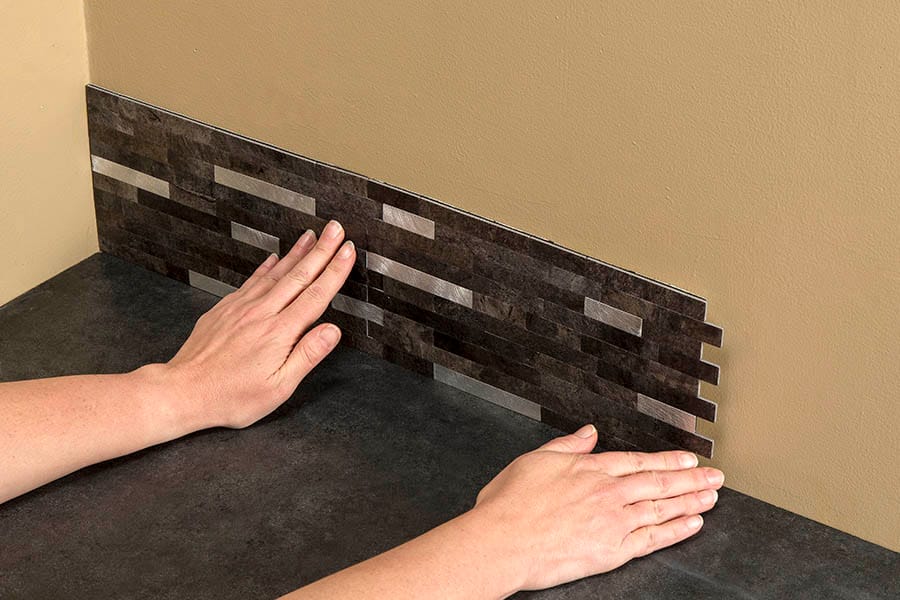
Lightly place the tile onto the wall using your reference lines (Figure 4). Do not apply pressure to the tile until you are sure of your placement.
The aggressive nature of the adhesive does not allow for repositioning after pressing firmly. If it is in the right position, firmly apply even pressure across the entire tile.

Lightly place the tile on the wall
Lightly place the tile on the wall
When applying subsequent tiles, first “dry fit” the tiles with the adhesive liner in place to ensure proper fit. Dry fit tile against the wall exactly how it will be placed. Place each section as if placing a puzzle piece (Figure 5).
Lightly place subsequent tiles on the wall using your reference lines. Do not apply pressure to the tile until you are sure of your placement (figure 6).
Place each section as if placing a puzzle piece
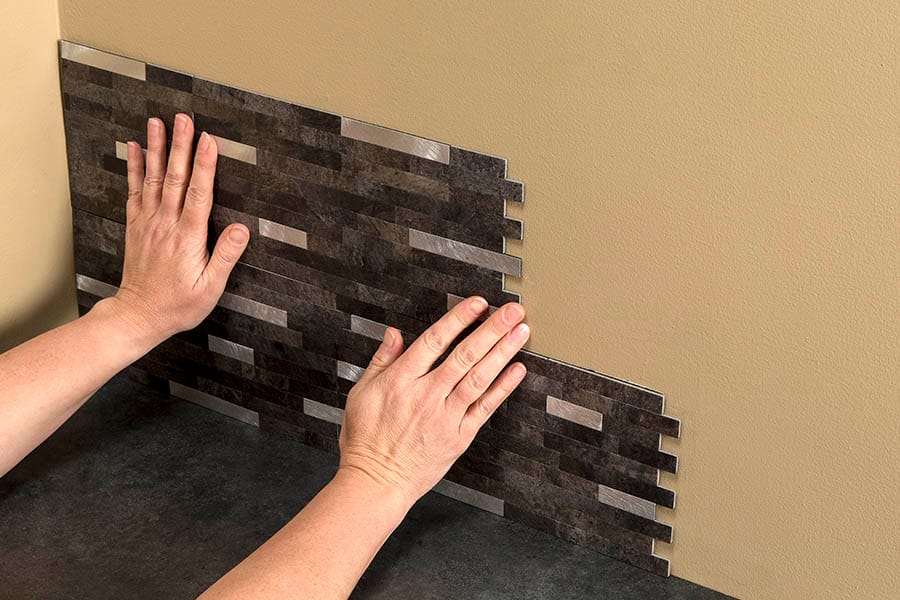
Do not apply pressure until you are sure of your placement
Cutting tiles
If cutting tiles is necessary, use one of our recommended tools listed above. A jig saw is the recommended cutting method. Alternative cutting methods are a miter box or hack saw for any necessary straight cuts. Use a hole saw or coping saw for circular cuts or electrical outlet cutouts. If a jigsaw is used, adhere the tiles to a solid substrate (e.g., plywood) with masking tape. Use a fine-tooth, metal-cutting blade for cutting tiles.
Measure where the cut must be made. Map out and mark the cut using masking tape to cover the surface of the tile.
Cut the tile using the recommended cutting tools (Figure 7). Take the cut tile to the work space and place it in its intended location, ensuring it fits properly. Cut and install all remaining tiles using the same steps described above.
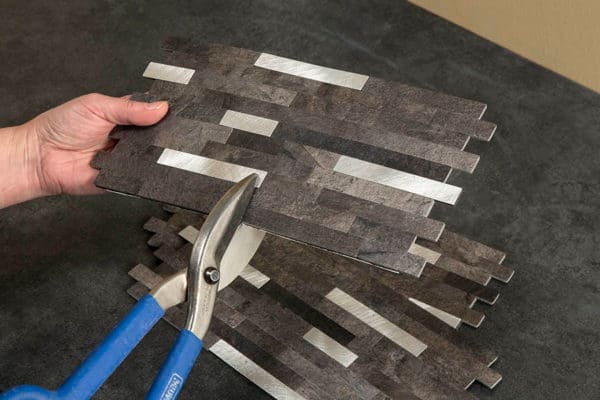
Cut the tile using tin snips or other cutting tools
When tiles are installed to your satisfaction, press each again firmly with your hand. This will ensure that the adhesive bonds to the substrate.
Allow 24 hours for the adhesive to set before exposing them to a heat source (such as a stovetop or oven). Clean or touch-up tiles with glass cleaner and soft cloth or paper towels.
If desired, use sandpaper or a small metal file to debur the cut edges.
Edge finishing
To finish the edges of your tile backsplash, Aspect trim is available to match every tile finish. A second option is to seal the outside edges with caulk using the same materials and method used to seal the gap under the bottom row of tiles.
Tips
- Adhering small pieces – Use tube adhesive for cut pieces of Aspect that are less than a third of a full tile.
- Removing tiles – If tiles need to be removed, use a putty knife and a heat gun or hairdryer to make the process easier. Note — by removing tiles, you risk damaging your walls and the tiles will be unusable.
- Fitting around pipes – To fit around pipes, make a cardboard pattern as a guide and use it to draw an outline on the tile. Cut to shape. A carbide-tipped hole saw can also be used. Check the fit before peeling off backing paper. The tile should fit snugly, but don’t force it into place.