


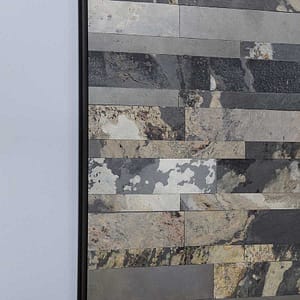
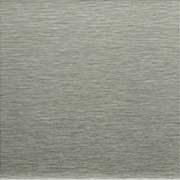
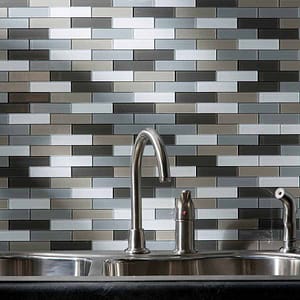
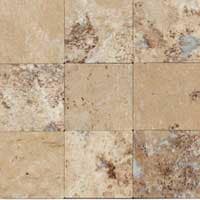
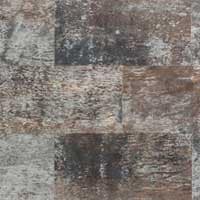
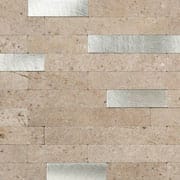
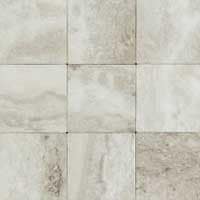
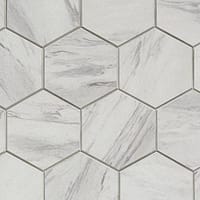
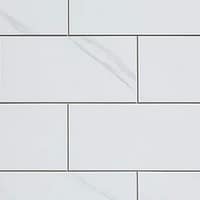
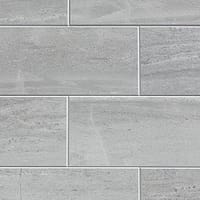
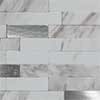
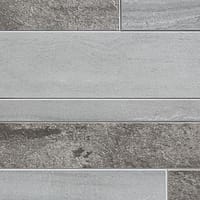
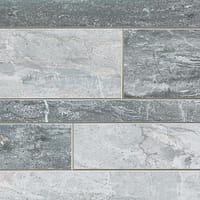
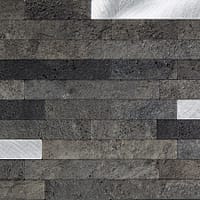
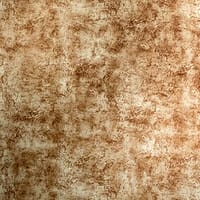
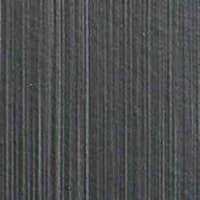
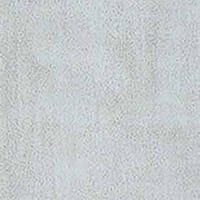
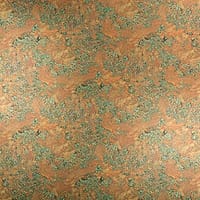
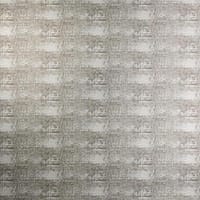
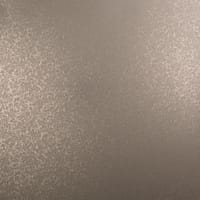
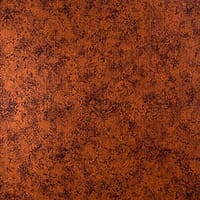
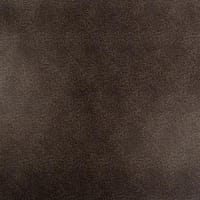
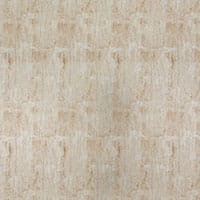
Description
With its easy, peel and stick installation, Aspect Stone requires no contractor, grout, mortar, or complicated or expensive tools, making it the perfect choice for the DIY homeowner. Aspect Stone tiles are the natural choice when looking to add an element of the unexpected to your surroundings. This revolutionary lightweight and flexible tile is made of genuine, thin-cut stone for the look and texture of designer stone tile, but for a fraction of the price. Choose from a carefully curated palette of rich shades to add beautiful texture and dimension to your walls, naturally.


ROBIN STEENSON (verified owner) –
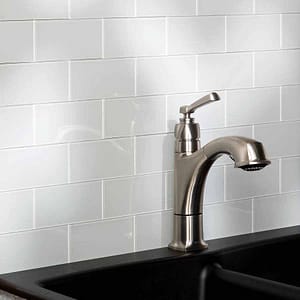
I just installed this backsplash in my laundry room and am VERY happy with the end result. I did seal the tile before I put it up since it was being used in a laundry room. Sealing the tile did make the tile darker than I would have wanted but the end result is beautiful. I also used caulking on the back since I had walls that were textured. Overall, the tiles were easy to cut and install. I would recommend this product.
Page Vangstad (verified owner) –
We installed this on both sides of our kitchen. It was pretty easy to install just make sure your measuring accurately. We followed the instructions on installing on painted surfaced. We used caulking pea sized drops of caulking on the adhesive. It looks amazing now that its done !
Paul (verified owner) –
I installed the Aspect Raised Titanium stone on my kitchen backsplash. The product looks great, however this particular “raised” line does NOT begin to cut with snips. I had to purchase a wet saw to cut the product. Even my carbide tipped saber saw blades would only last for one cut. I did use the recommend adhesive and that does appear to hold the product securely to the wall. The other issue I am concerned about is the that a few of the tiles are pulling up from the front where they are factory glued to the backing. Bottom line, great looking product when finished, cutting this raised product ( 1/4″ thick tiles in places) using snips was not possible for me.
Rick (verified owner) –
Just finished the backsplash in our kitchen and absolutely love the results and product. Attention to detail is critical: 1) read the instructions and watch the installation video with the person helping you at least twice, 2) thoroughly discuss the plan for install and along the way, 3) measure multiple times, 4) take your time, rushing it creates mistakes, 5) have all the equipment recommended, 6) while perfect is nice, no one will notice the small mistakes.
Tonya Peterson (verified owner) –
Just finished adding this backsplash and love it!
This product is so easy to install and results are beyond expected.
Trying to decide on which to use for the bathroom and laundry room!
Raymond Tyc (verified owner) –
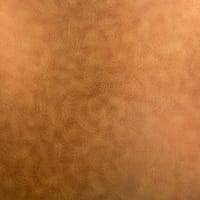
Stunning. I installed Tarnished Quartz (TQ), it is bee-yoo-ti-ful. Some tips.
A. We ordered 10-12 samples of several colors, finally settled on TQ. The sample tiles are very useful for installing around outlets, corners, etc. So much easier to slip in a 6″ x 6″ tile than the floppy 24″ regulars.
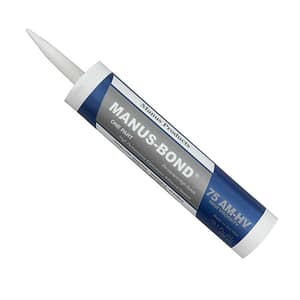
B. The glue is STRONG. Check, practice, get it right before you push it in place.
C. I bought some large tin snips. Work great. As shown in the installation guide, install your cut edges toward the wall. You can hide with caulk or grout.
D. Fill gaps between counter and wall before you install tile. I used a spray foam caulk, then top coated with grout. As the TQ is stone and rough faced, the grout matches perfectly.
E. You may want to paint your wall gray or brown to match your tiles, just in case you happen to leave a gap. The tiles do hide minor gaps very well. As Rick states, the tiles will hide small mistakes.
Raymond Tyc (verified owner) –
Oh, one more thought. I mixed some Weathered Quartz samples with the Tarnished Quartz. One or two pieces per six-foot run. Looks very nice. They need a spot here to post photos.