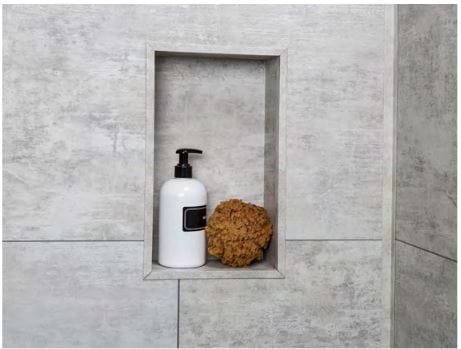
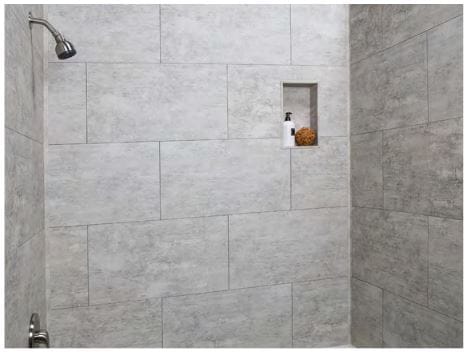
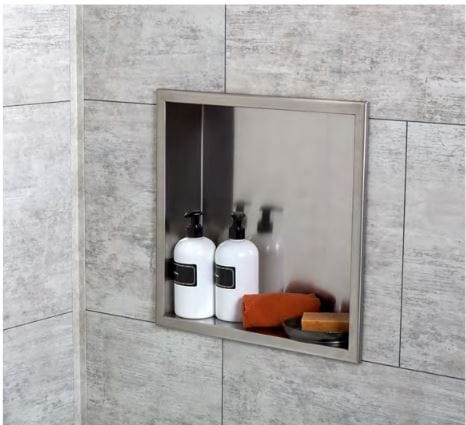
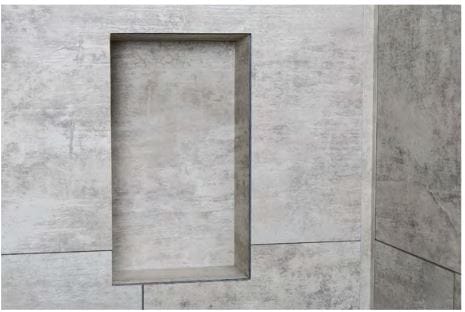
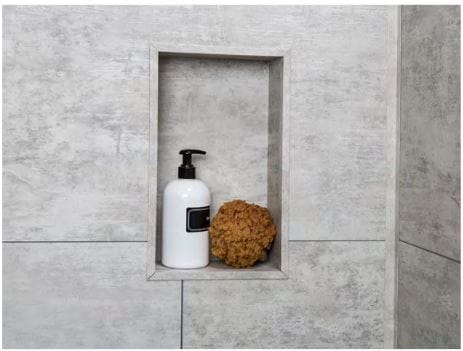
A permanent recessed shelf to hold bathing essentials (also called a niche) is a great way to add storage space to your tub or shower. This feature can be easily integrated into your Palisade project.
Although Palisade tiles are 100% waterproof when used with SilTex 40 in the seams, we recommend you follow your local building codes for wet environments like shower and tub enclosures. We recommend a 100% waterproof substrate that will prevent water from getting behind potentially unsealed areas that would cause mold or other damage.
Acceptable waterproof substrates: existing ceramic tile walls, Cement Board®, Schluter Kerdi Board®, GP DensShield®, Johns Manville GoBoard®, HardieBacker®, Fiberock® and equivalent products. Always follow manufacturer’s installation instructions to create a waterproof enclosure.
There are three different ways to install a recessed niche into a tub or shower.
1. Stainless-steel or plastic preformed products (e.g., ALFI®)
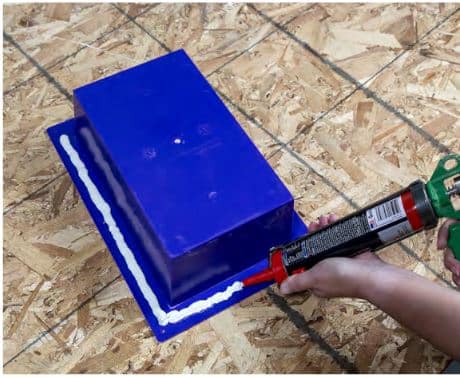
2. Preformed membrane products (e.g., EZ-Niches®)
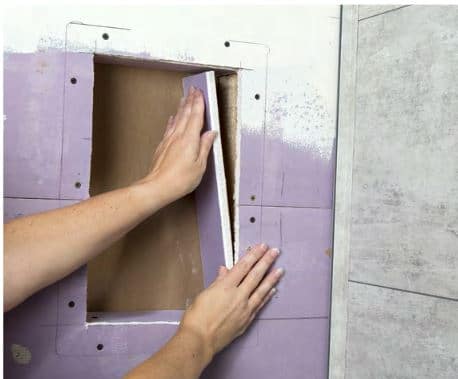
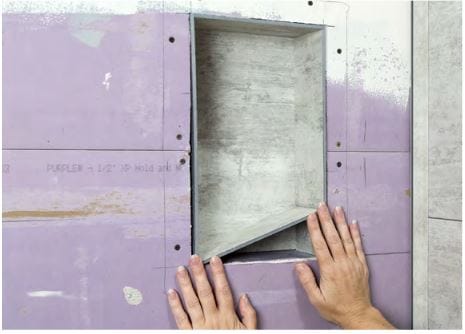
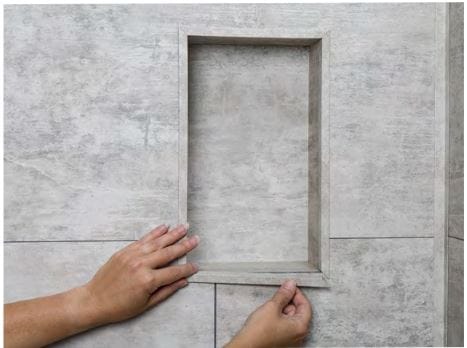
3. Custom-built niches covered with Palisade tiles
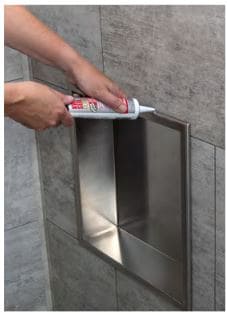
For stainless-steel or plastic preformed products,
(e.g., ALFI), always follow manufacturer’s instructions for the best outcome. The preformed product should be installed over Paliade tiles.
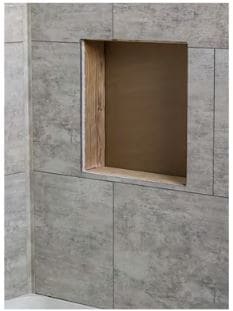
For preformed membrane products
(e.g., EZ-Niches) always follow manufacturer’s instructions for the best outcome. Palisade tiles should be placed over the preformed membrane.

Insert preformed membrane with Palisade tile applied into niche opening.
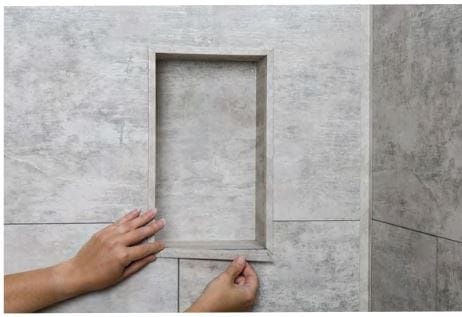
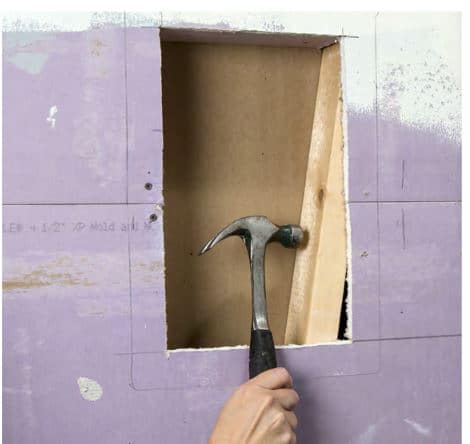
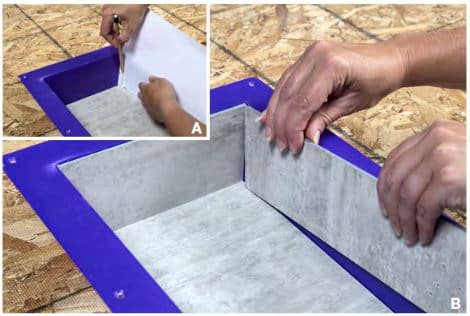
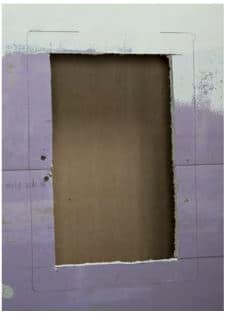
For a custom-built niche, finished with Palisade
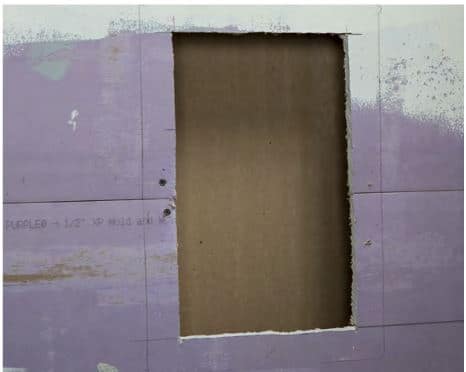
Decide on a location for the niche. The back third of the side or rear wall of the shower is best, as these locations receive the least amount of water. Tip: In colder climates, avoid locating on outside wall to retain insulation behind it.